Dungeon Overview
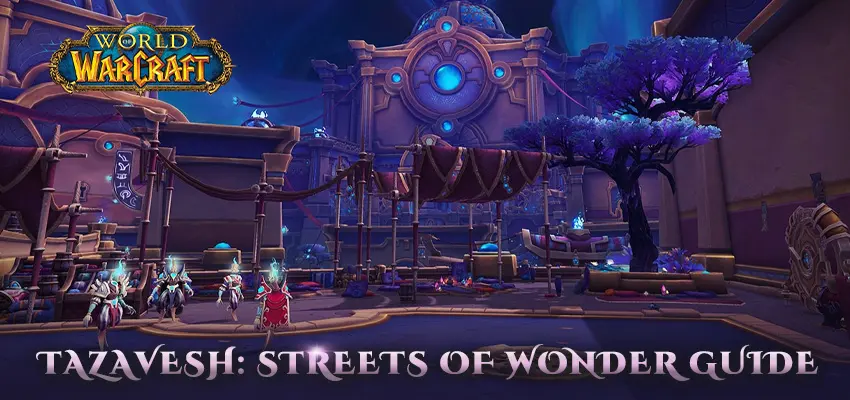
When it was first released, Tazavesh: Streets of Wonder was one of the hardest mega-dungeons. However, it has been nerfed and balanced many times since then, making it much easier to handle. You can easily clear it if you use your skills well, make good use of your class's teamwork, and work together well. It's still respected because the tank job is very important: in many trash pulls and boss fights, the tank has to actively use damage reduction and mitigation.
In a group makeup, you should make sure that each member has the right tank class, with reliable defenses and good mobility. DPS and healers should plan their moves around the tank's cooldowns and the times when they will take a lot of damage. Tanks need to be extra careful in this area because many trash mobs and bosses have strong attacks that hit tanks directly.
Area 1: Getting the Pull and First Boss
Trash encounter
The entry has an elite "gatekeeper" who does AOE damage for 3 seconds. You'll need long-term repair if you get hit. Besides that, he'll throw grenades that will burst into white circles on the ground that you need to avoid. There are a lot of smaller trash and elites that deal direct tank hits in this first zone, so plan your defensive cooldowns properly. As soon as you finish this pack, you can go up the stairs to the first boss room.
Boss 1: Zo'phex the Sentinel
Mechanics:
- Frontal split/cone and spinning blade strikes should be avoided.
- Impound Contraband: It will pick two players, silence them, and make them pick up weapons that have been dropped on the ground to break the quiet. This gives those players a haste buff.
- If the boss's energy level reaches full, he picks a player for interrogation. That player is stunned and put in a detention cell, where the boss keeps them there while spinning blades threaten anyone between the boss and the target. While dodging getting hit by the boss's rage, the rest of the group has to free the trapped player.
- When the boss is fully armed, its physical attacks get about 25% stronger. Make the right use of your protection.
After you beat Zo'phex, you move on to Area 2.
Area 2: Bridge and the Second Boss Fight
Encounter with Trash
There is a top player on the bridge who uses a chain-pull to get everyone in a circle and then lasers from the floor. It is recommended that the tank try to get the elite out of the laser zone. The elite can also stun the tank, so medics need to be ready to do that. There are two big elite "dogs" that show up. They do easy things like spit flames and group fear/curse, but they need to be dealt with, and the curse needs to be stopped. The next enemy is a horned dragon elite. It charges at random and does mild AOE damage. To kill it, you usually have to pull it down the stairs.
Boss 2: The Grand Menagerie
The three bosses in this fight are, in order, Alcruux, Achillite, and Venza Goldfuse.
- Alcruux: Gluttonous Feast is cast on a player, hurting close allies. They can also use Grip of Hunger (pull + big AOE).
- Achillite: Achillite adds Volatile Anima orbs that bounce. Players who have the Gluttonous Feast debuff can soak the orbs to get a positive buff called "Devoured Anima." For the Flagellation Protocol, tanks should keep their defenses up.
- Venza Goldfuse: Whirling Annihilation (pull + heavy AOE) and Chains of Damnation (roots a random player) are used by Venza Goldfuse. Be ready for group movement and interruption.
Area 3: Mailroom Event and the Third Boss
Trash and Event
You can pick up a trade good at a vendor and take it to another vendor in this zone. This is the "bazaar trade event." Mobs will spawn, and other things will happen. After that, you'll face a large group of trash, including an elite called "Executor" who casts a steel-bar spell that heals nearby adds and a "Peacemaker" who drops magic shields that block spell damage—interrupt or kill them.
Boss 3 – Mailroom Mayhem
Important mechanics:
- Hazardous Liquids: It creates a number of floor circles that you can either soak to take a magic DoT that stacks or let explode into bigger area denial zones.
- Money Order: the power to soak the whole group or just one player.
- When you reach 100 energy, the boss turns on one of four mail portals and sends out five "Unstable Goods" (packages) that you need to click on and throw into the active mail portal to keep them from going off. Failure to do this causes a lot of damage.
Area 4: Myza's Oasis and the Last Boss
Trash and Instrument Phase
Before the fourth boss, each player must choose an instrument from the five that are on stage. When you hit these notes, they give you an extra action button. Hitting them gets you stacks of "Jazzy" buff. At 12 stacks, you become "Up Tempo," which gives you 25% more damage/healing and 25% more speed for 40 seconds.
Boss 4: Myza's Oasis
Process:
- Phases 1 & 2: Unruly patrons throw drinks, and undercover patrons cast a channel that needs to be broken.
- The boss can cast Control Loss: Frontal, which blocks attacks coming from that way. Watch out for this.
- When the boss's health is between 70% and 40%, cast "Final Warning." The boss gets a shield and channels for about 20 seconds. The group takes a lot of damage if the shield is broken before the channel finishes.
Boss 5: So'azmi
The last battle is very complicated:
- Teleport Relocators: The boss sets up three pairs of portals. Touching one of them will take you to the portal that matches it. These are important to avoid his Shuri ability (a big ring that does damage and leaves a DoT) and to get to him during room breaks.
- At 70% and 40% health, the boss puts up an obstacle that blocks your view of the whole room. Portals are needed to get to the boss side.
- Double Technique: When the boss has 100 health, it teleports and starts to cast. You have to quickly stop twice, or the whole group will die.
- Phase Slash: hits three players and bleeds them; healers and cleaners are ready.
Summary
The dungeon isn't as hard as it used to be, but you still need to be aware of your surroundings, especially if you're the tank. Tank-busters, heavy melee hits, or features that target the tank (like chain pulls and frontal hits) are used in a lot of situations. You should time your protection so that you don't get caught off guard and are ready for the big mechanics. Interrupts, dispels, and movement rules should also be known by people in other roles. Embark on your heroic journey—visit iGrush to discover more beginner World of Warcraft guides, tips, and exclusive in-game deals.
 Diablo 4
 Fallout 76
 Torchlight: Infinite
 New World
 Path of Exile 2
 Fortnite
 FC 25
FC 25 Diablo 2: Resurrected
 The Elder Scrolls Online
 Last Epoch
 Lords of the Fallen
 Path of Exile
 World of Warcraft
 World of Warcraft Classic
 FC 26
FC 26 Steam Gift Card
 Amazon Gift Card
 Psn Gift Card
 Lies of P
 The Last Faith
 Assassin’s Creed Shadows
 Grand Theft Auto V
 ARC Raiders


