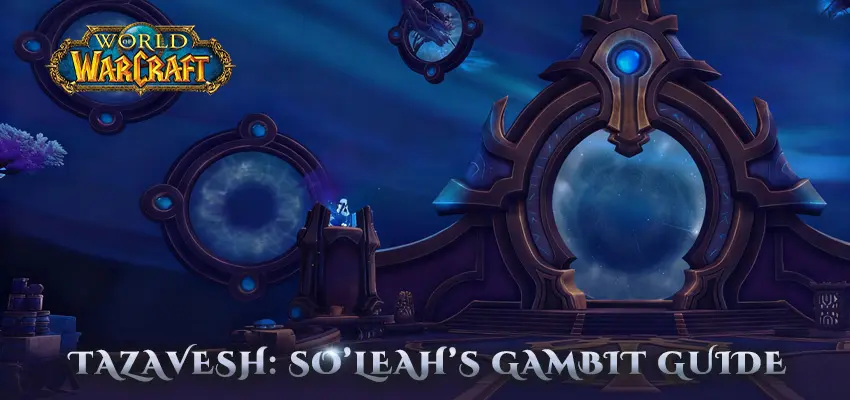
According to the update The War Within, Tazavesh: So'leah's Gambit is one of the hardest dungeons in World of Warcraft. Partitioned into three areas:
- The Murloc Zone
- The Pirate Zone
- The Veiled Market (also called the "Veiled Market Zone")
Let's see about how fights and trash work.
The Murloc Zone
Trash:
Many murlocs and coastwalkers/goliaths will be waiting for you when you enter this zone. You can pull many at once and focus. Make sure your tank is full and ready for the giant sea-goliath type, which has a direct AOE. The most well-known mobs are
- Murkbrine Shellcrusher (elite): It lets out a shout that sounds like "Cry of Mrrggllrrgg." When it's completed, all murlocs nearby take an extra 50% damage. This has to be stopped.
- Murkbrine Scalebinder (elite): It drops an "Invigorating Fish Stick" totem that heals and buffs nearby murlocs and gives them damage reduction and recovery every 3 seconds. Get rid of this one quickly.
- Murkbrine Fishmancer: interrupts with "Waterbolt" and then does a blue-circle ground effect. When you see the circle, you should dodge.
After eliminating the trash, you'll face the first boss.
Boss 1 – Hylbrande
- Mark three players, and the boss will hit them with a wide range of damage. Healers need to get ready. He will aim a high-damage beam at a random player, who must leave the area right away.
- Two ads called "Vault Purifiers" appear from the sides. Each has two cast bars, one for "Valorous Bolt" (interrupt) and one for "Empowered Defense" (channel), which does 25% less damage to the boss if it finishes. Cut off the line.
- A part called "Sanitizing Cycle" makes the boss immune when he has full energy. When that phase happened:
- The boss is surrounded by four colored orbs. To find out which orb goes into which panel, one player has to go to a console. Then players have to pick up the right color orb and move it to the right spot on the panel.
- Important: Kill the two adds before the transition, because if they stay, they will block the mechanic that lets you take the orb. The boss is weak after the sanctification part, and you keep going until you kill it.
Follow the link to the next area.
The Pirate Bay
Trash:
Sailors, tidesages, and officers will be here.
How things work:
- Sailor: Does a lot of damage to tanks; one ability, drinking "Super Saison" or something similar, boosts his damage by 100%; tanks must use defenses or kite.
- Hourglass Tidesage: It can cast "Brackish Bolt" (interrupt) and has a blue circle that grounds "Tidal Burst."
- Corsair Officer: It throws knives and makes an area of effect around the object of the throw, which you can use to fight them.
Boss 2 – Timecap’n Hooktail
- Infinite Breath is the boss's facing cone attack that tanks should aim away from the group. He also comes out as Corsair Brutes, which attack random players and give them "Double Time" stacks. Infinite Breath should hit those adds because of where the tank is placed.
- Boss also drops "Time Bomb" debuffs on two players, which gives them a lot of speed but deals damage to the whole group when removed. Healers should remove these as soon as possible.
- Mechanic Random players will be pulled toward the ship's edge (Deadly Seas) by "Anchor Shot." To stay alive, those players must run against the pull.
- During the fight, you need to kill adds quickly when they appear, because the longer they stay alive, the more dangerous they get.
After you beat this boss, go through the opening to reach the last zone.
Veiled Market Zone
Trash:
This part of the trash is the hardest.
Important mobs:
- Adorned Starseer: It can't be affected by CC and can cast "Drifting Star" as a line attack or call up "Wandering Pulsar," which does heavy damage in waves. Focus the pulsar to use it.
- Focused Ritualist: There are two casts for it—"Unstable Rift" (interrupt) and "Hyperlight Bolt" (interrupt when possible).
As a co-conspirator, you deal a lot of damage to the tank and apply a debuff that makes the damage they take stack. You can also stop the "Reinvigorate" spell that heals him.
Final Boss – So’leah
This battle has two parts:
Phase 1
- She calls up two So'Cartel Assassins at the beginning, and they move and cast "Shuriken Blitz." Interrupt them and kill them quickly.
- By using "Collapsing Star," a sphere with 4 charges appears. The group gets a DoT every time a player steps into it. Pick one distant player to carefully soak 3–4 charges (don't do it all at once).
- She also casts "Hyperlight Spark," which bounces off other players so that it doesn't interfere with other heavy damage stages.
Phase 2 (at ~40% health)
- She gets her health back to normal and starts "Power Overwhelming," which makes her bind to 5 treasures and make them very resistant.
- “Hyperlight Jolt” through all 5 relics is what you need to do to break this. This is a line move that goes through relics.
Other mechanics:
- "Energy Fragmentation": It turns on relics one at a time, and they fire projectiles at you. Try to dodge the beams.
- Hyperlight Nova: When you use it, it makes 14-yd circles around the boss and treasures that explode. You should avoid them.
- Collapsing Star: It keeps going like it did in Phase 1, but with more pressure and mechanics that merge.
You will beat So'leah if you keep doing the second-phase loops (relocate, avoid, trigger relics) and learn how to use the game's features.
Begin your heroic journey—visit iGrush to access more beginner World of Warcraft guides, tips, and exclusive in-game deals.
 Diablo 4
 Fallout 76
 Torchlight: Infinite
 New World
 Path of Exile 2
 Fortnite
 FC 25
FC 25 Diablo 2: Resurrected
 The Elder Scrolls Online
 Last Epoch
 Lords of the Fallen
 Path of Exile
 World of Warcraft
 World of Warcraft Classic
 FC 26
FC 26 Steam Gift Card
 Amazon Gift Card
 Psn Gift Card
 Lies of P
 The Last Faith
 Assassin’s Creed Shadows
 Grand Theft Auto V
 ARC Raiders